“Moving On!”

Hi Everyone,

Just wanted to pop in and let you know what I am up to besides work and family!   😉

I am a tad excited 😉

As some of you know I have been a demonstrator for a couple of companies and they have been great, but have not suited my needs to be able to stay with them.          So……………….after careful thought, firing a lot of questions at the lovely Debi Hunt and a bit of procrastination I  joined a lovely team of girls on Saturday and I am now officially a CLOSE TO MY HEART INDEPENDENT CONSULTANT  

I think a big part of the problem was that I  never had the support of my Upline, as they have always lived in another state. Now I have, as my upline Sue Kayler, is just down the road from me in Geelong.  I was invited to their monthly workshop and I was able to see all the lovely goodies, and bring my Starting Kit home with me 🙂  The girls were very welcoming  and very supportive. I know I have made some new friendships, which what this wonderful craft of ours is all about!

ctmh

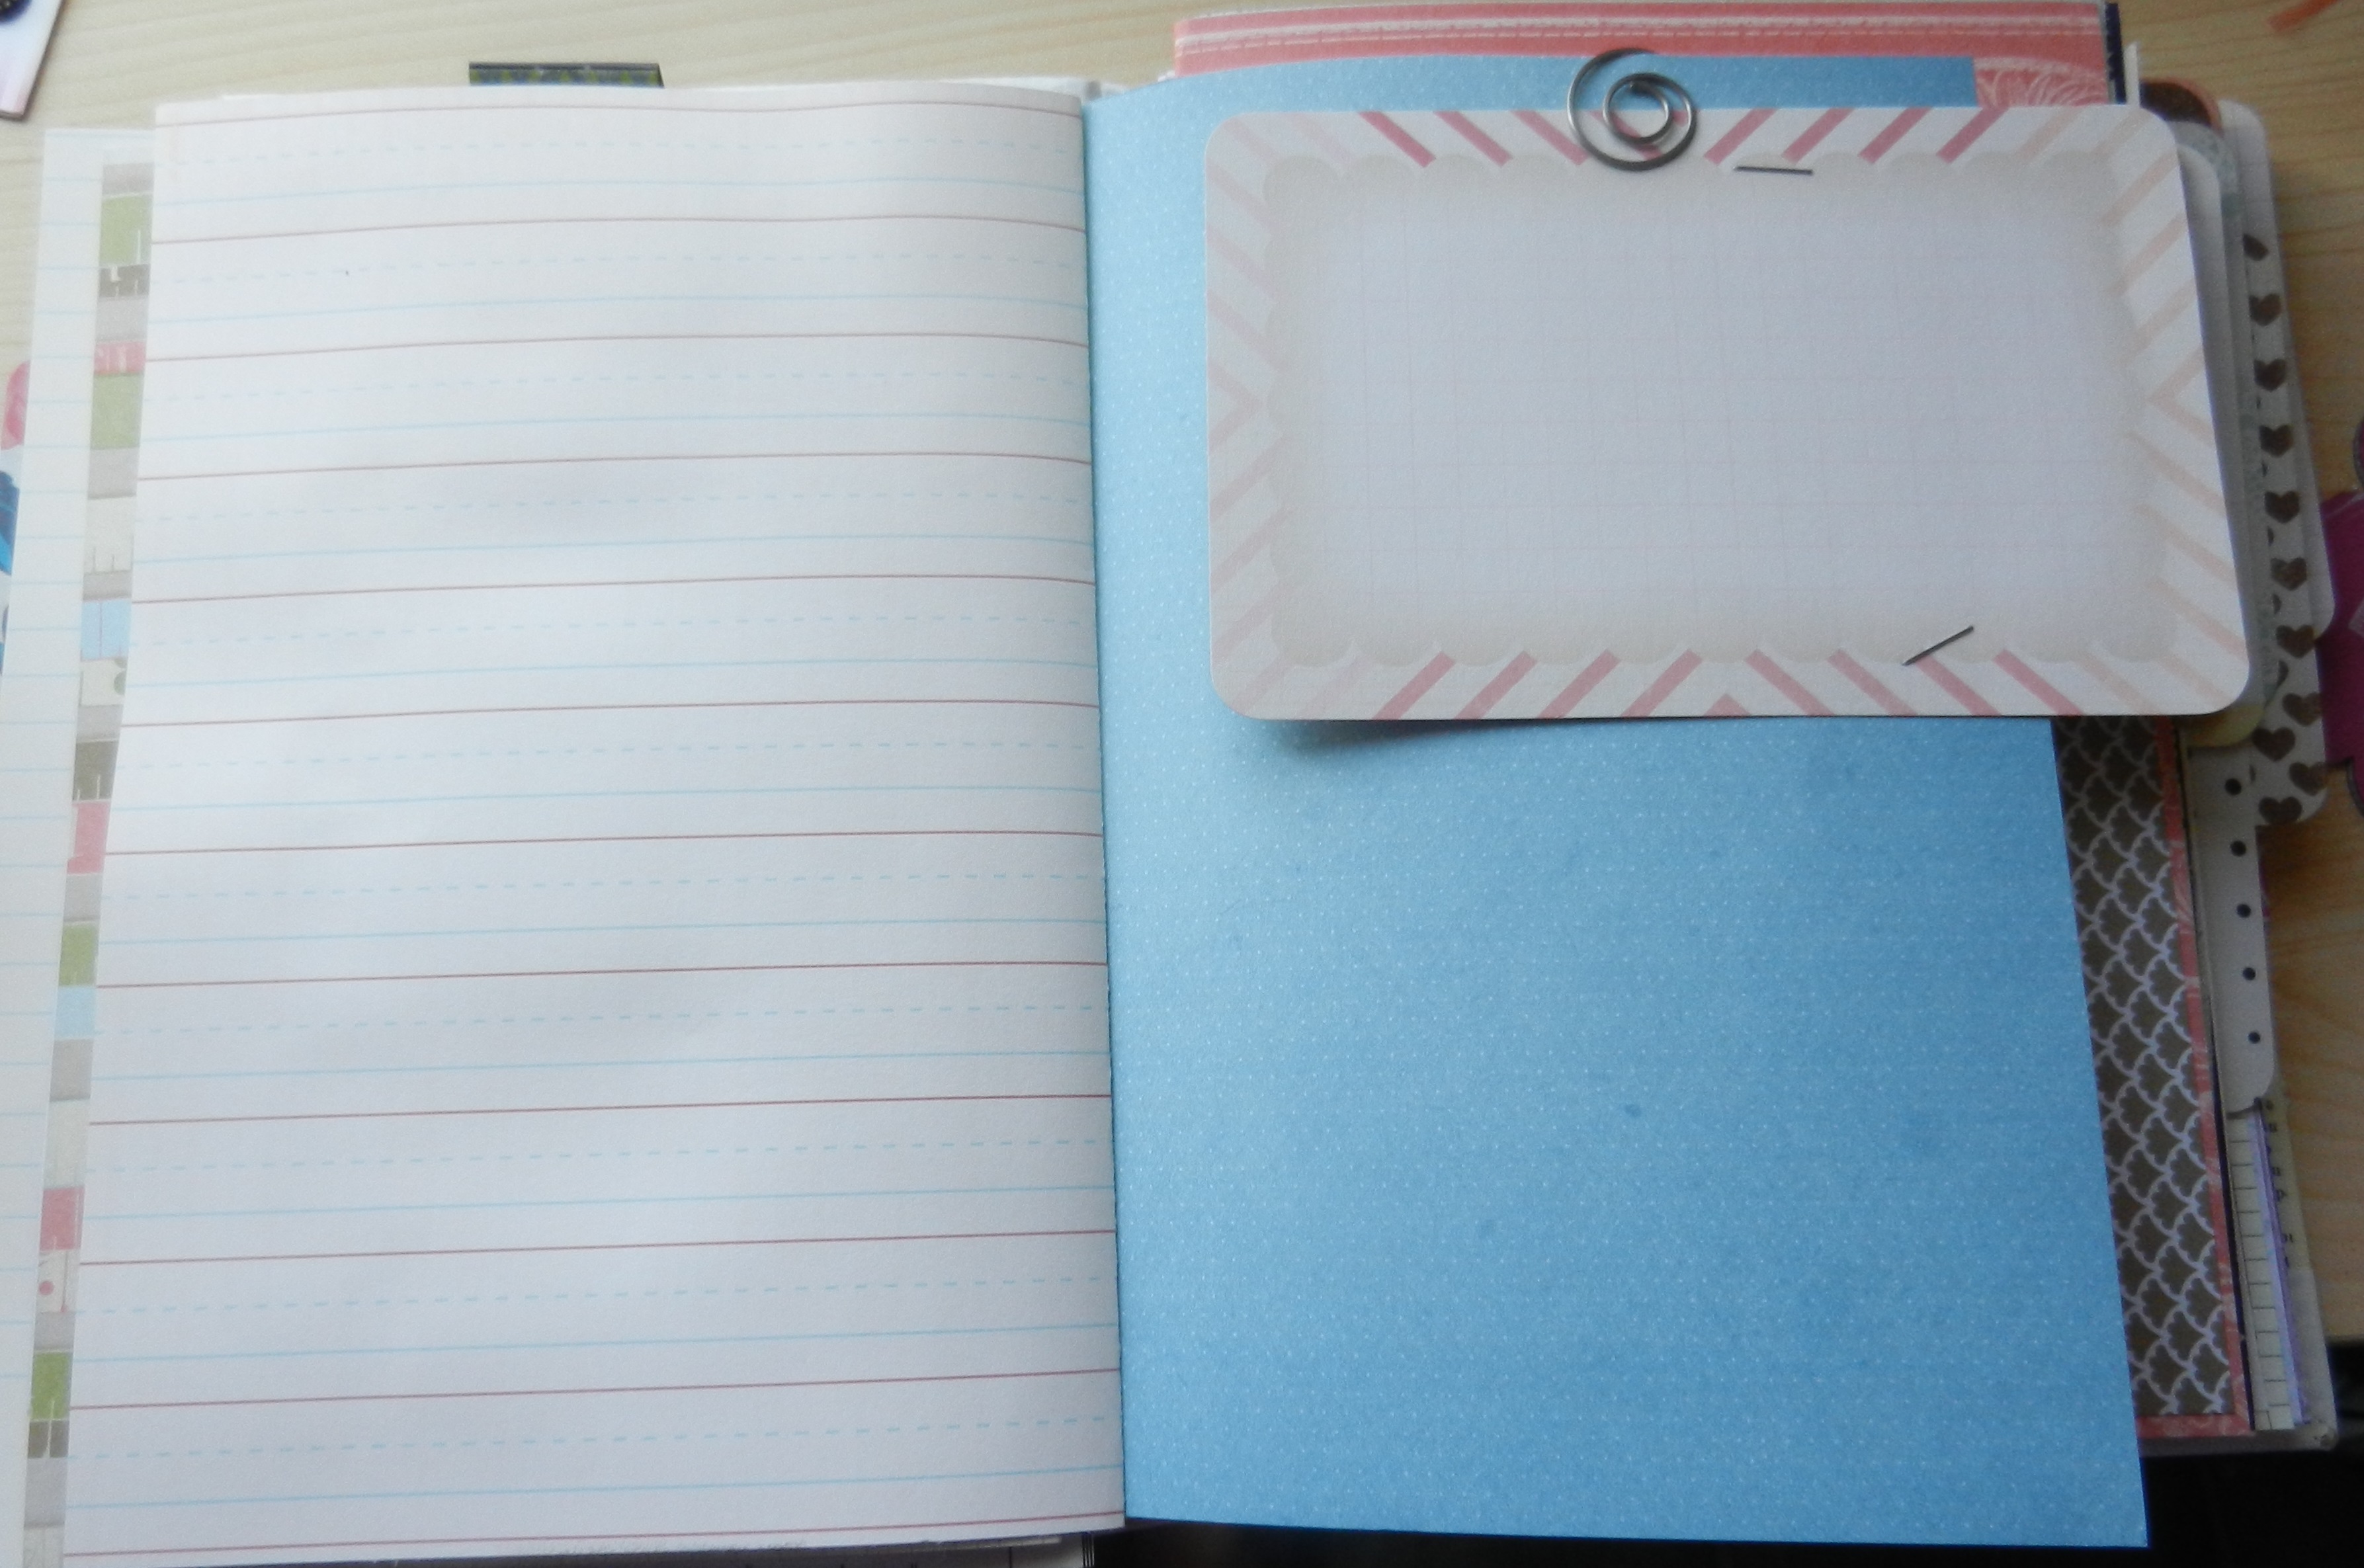
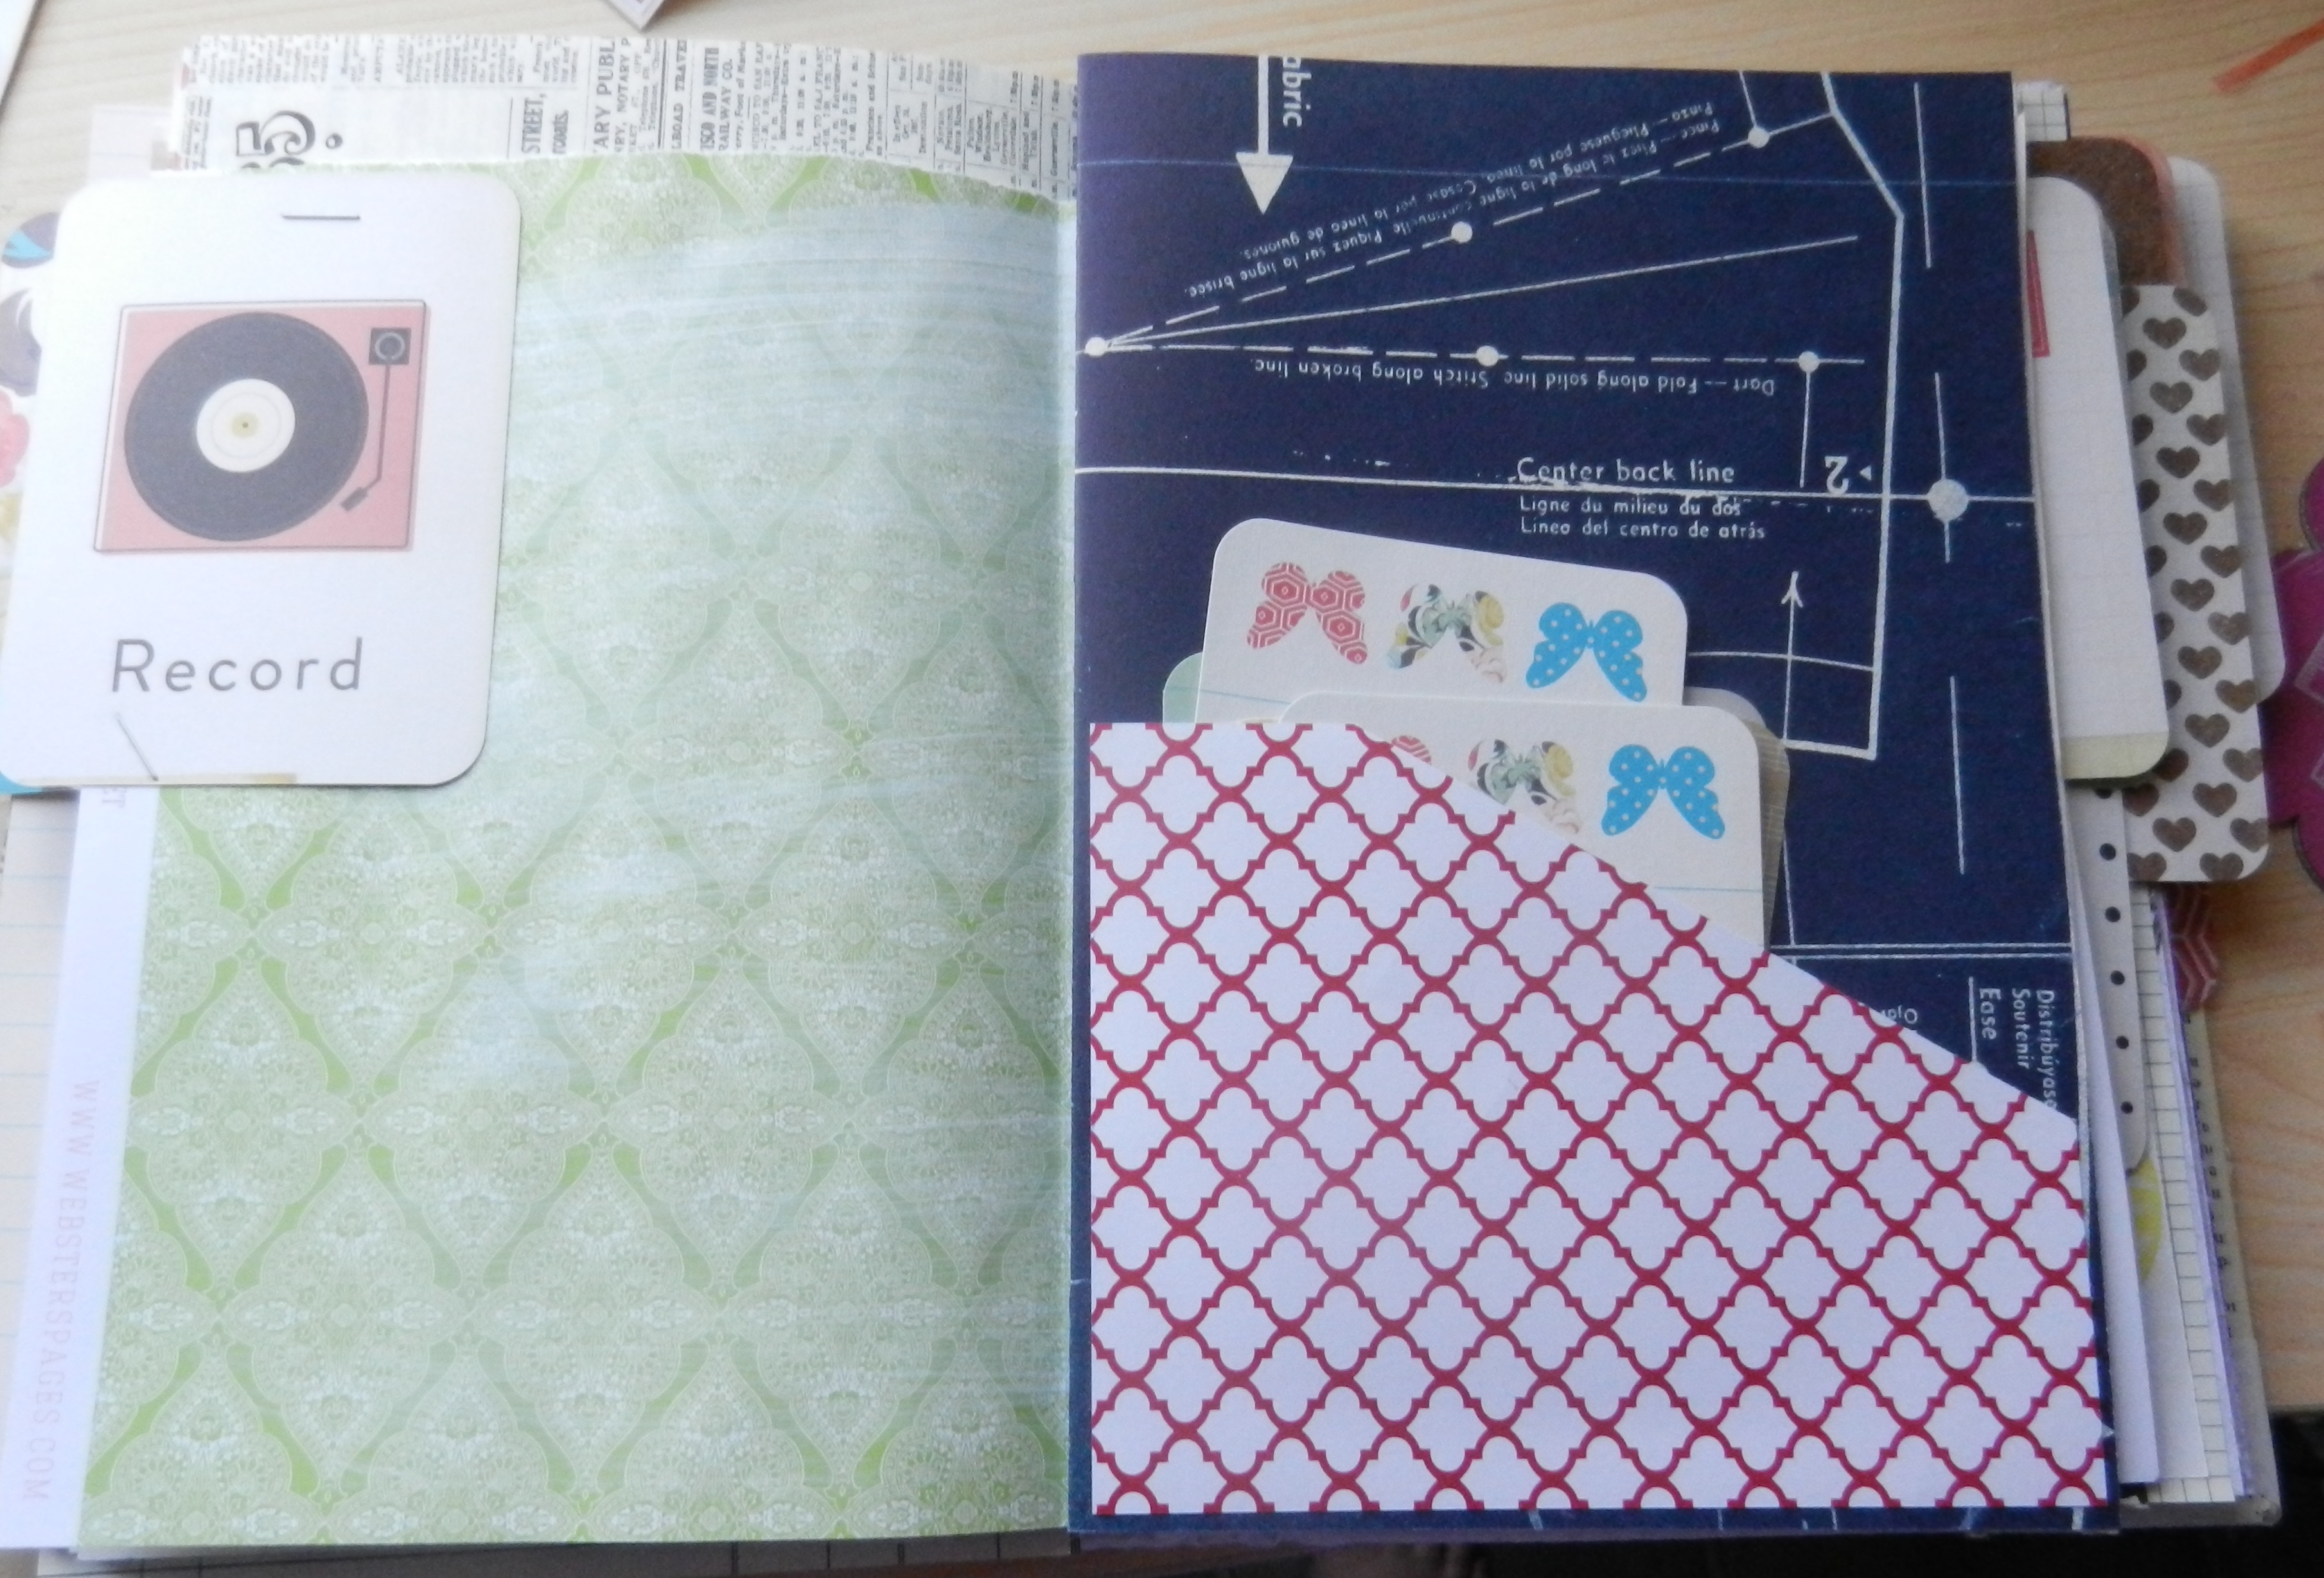
Of course we had to have a photo for the occasion. This is Sue and my lovely kit which I have pulled apart and hope to play with over the weekend 🙂  It was easy to join on her website and I have my own “FREE” website here for you all to have a peek at the new Catalogues and you can order straight from here  http://artfrommyheart-kerrismith.ctmh.com.au/ or if you prefer I can place the order for you 🙂

kit
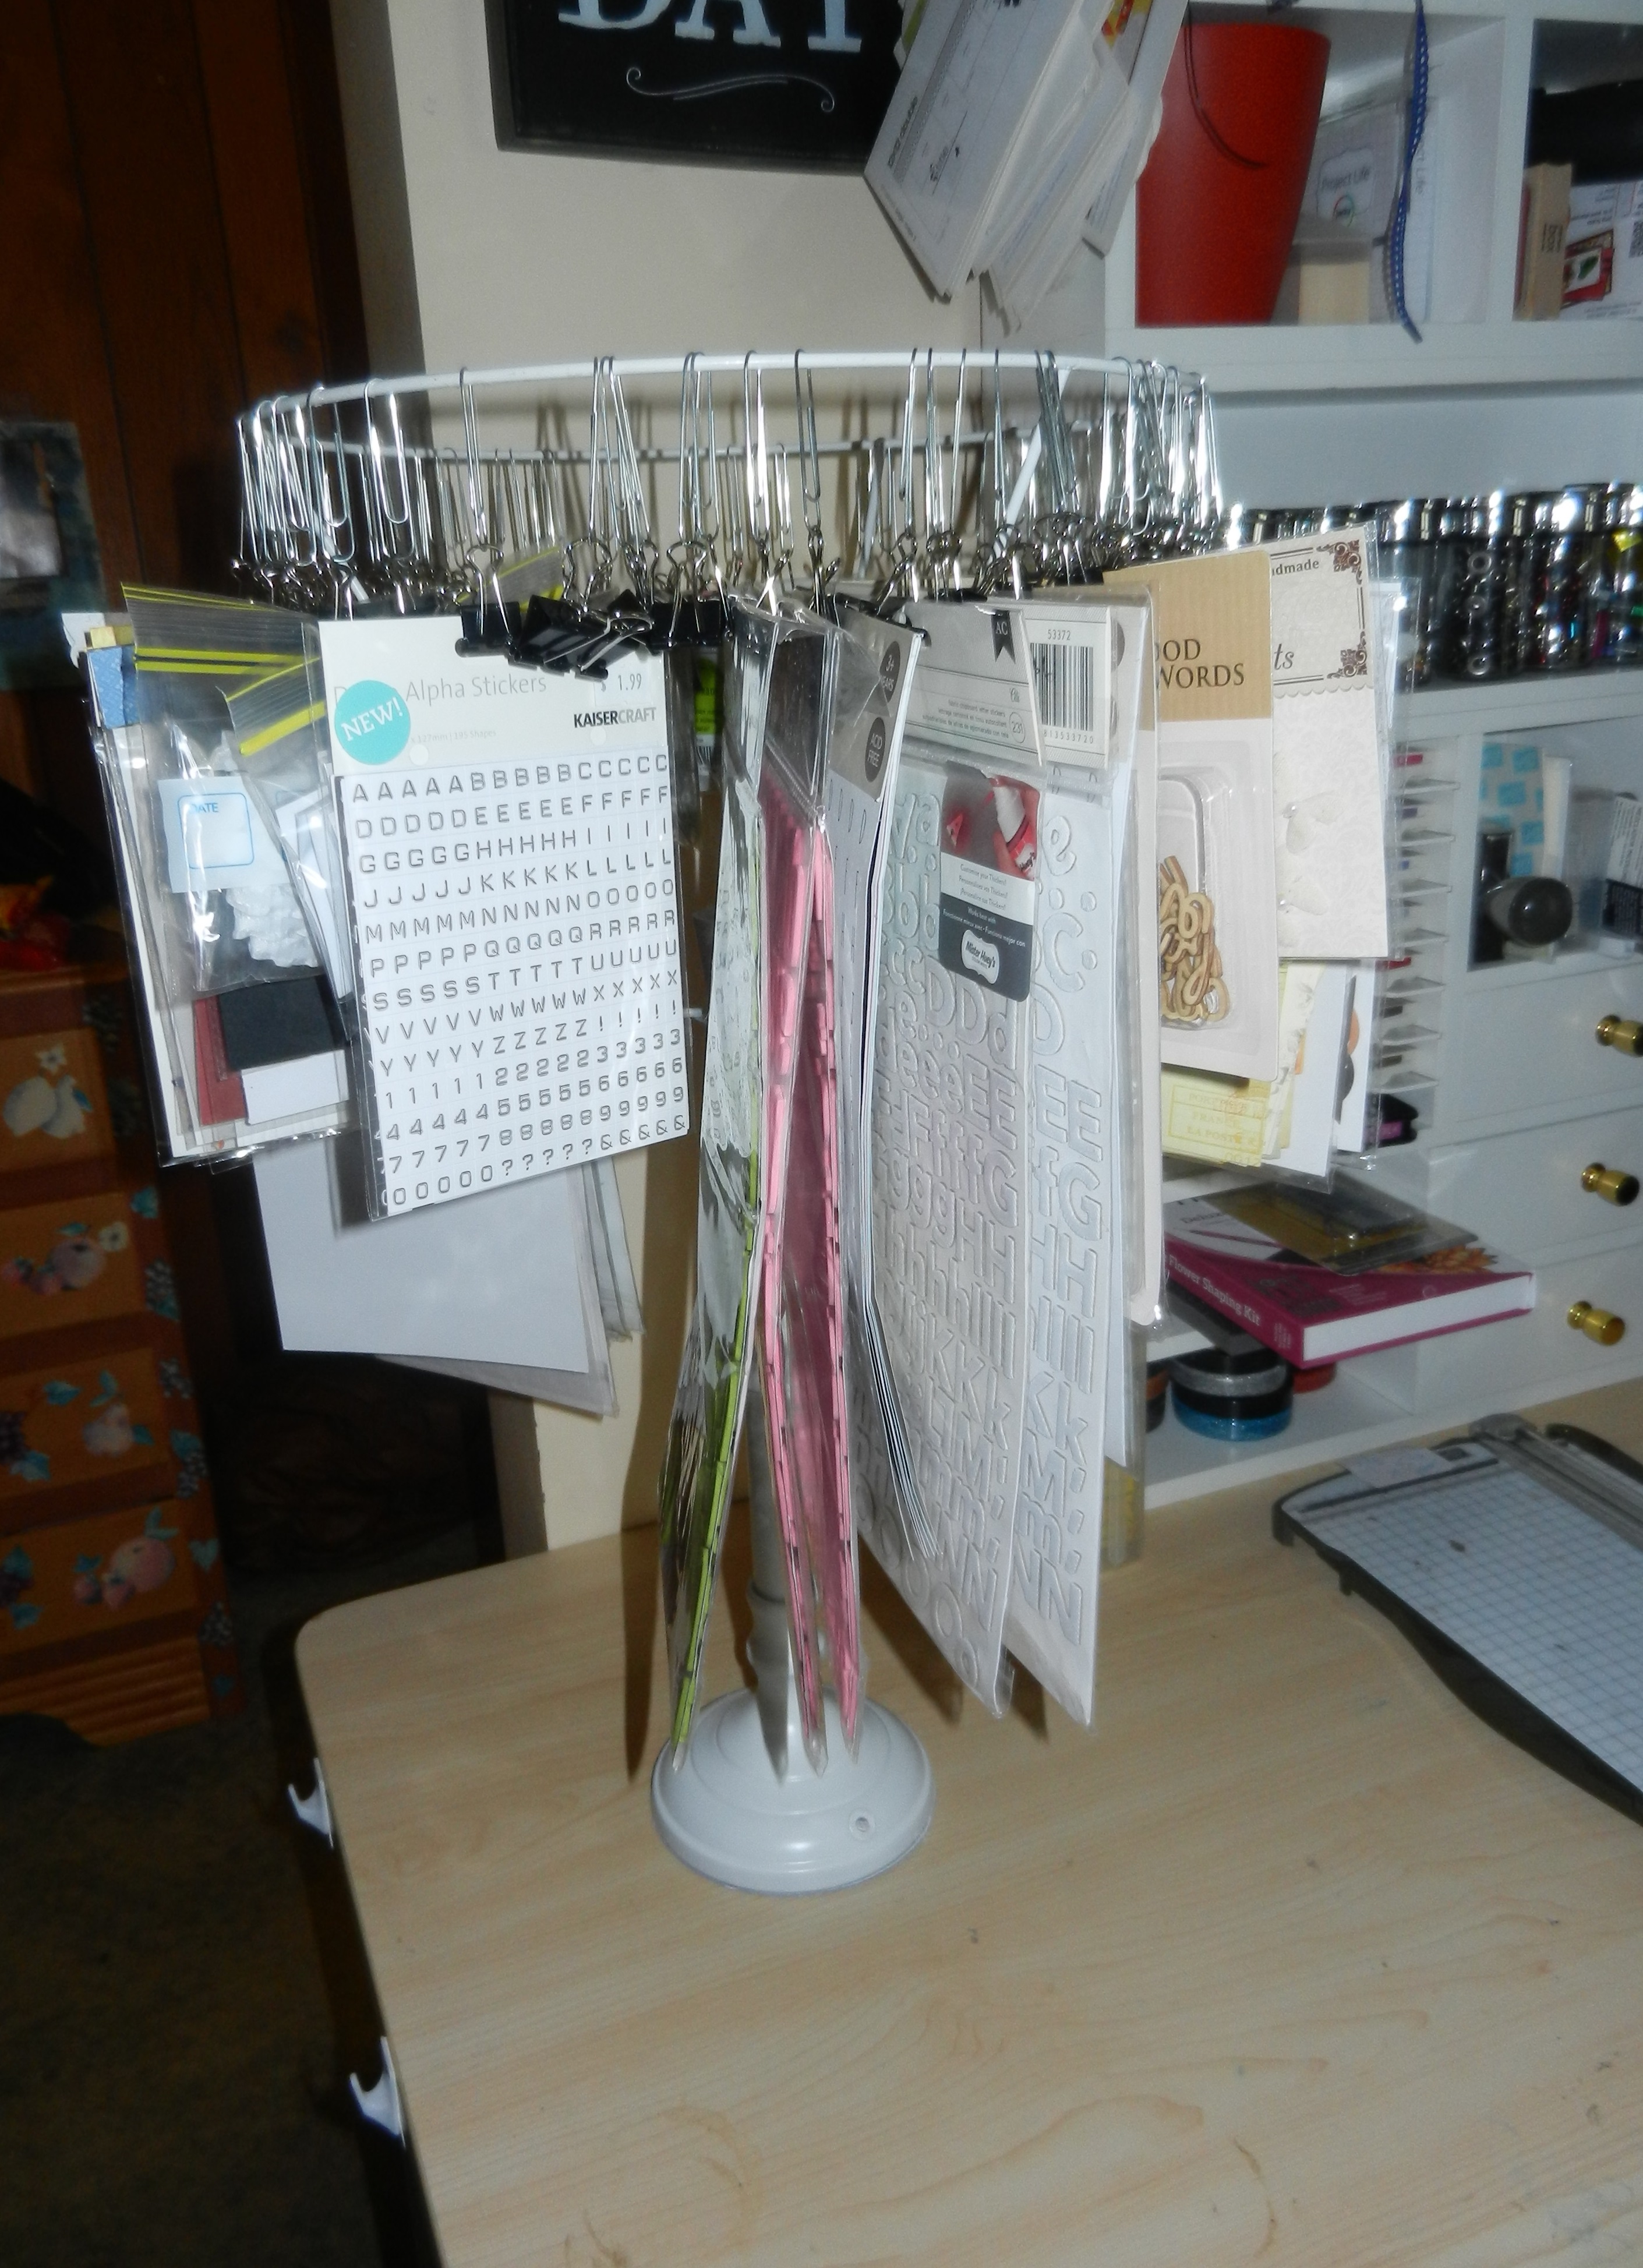
This is my awesome kit I brought home with me to play with. Joining is only $130 for Aussies and you get over $400 worth of fabulous products. 🙂 CTMH is based in the USA and they have been selling in Australia 2 yrs now 🙂 Their prices and shipping are very reasonable and they have a quick delivery 🙂
bagAs a super bonus for joining in October, I will receive this fabulous bag for “FREE”. They are a very generous company!   It is big enough to take hold my supplies to take to my monthly crops I will be going to in Geelong.

I am very happy I have made the change “FOR ME”  but I would love to share this with you too !

Thanks for stopping by!

Happy scrapping

Kerri x


Posted in Uncategorized | Tagged , , , | 2 Comments

My DIY Clip It Up Storage!

I am always looking for better ways to store my scrapbook supplies. I am very lucky and I have two great units on my desk which have my stamps, inks and other products on it.  My main thing I am always in a mess with is packets of thickers, and packets of embellishments etc. I hate baskets as they are messy and I can never find anything!

Have you seen this product called a Clip It Up?


clip


It rotates and you can store things on it with the small clips around the top.  I have been wanting one for a while but they are pretty pricey and now they are being discontinued 😦   I have seen DIY versions of this here on Pinterest   https://www.pinterest.com/

I decided to have a look at a few different ideas  and then thought I would have a go at making one with a lamp base and shade.  I had a lamp shade and I bought a cheap base stable enough to hold the weight of the items I wanted to store on it.  I already had a heap of clips so it didn’t cost me a lot to make. I took the shade off the frame and tidied it up, then Jayden spray painted the base for me after I cut the cord off it.

clip 1


I think it came together nicely and didn’t cause me much drama. I just turned the shade frame upside down and added the bull-dog clips on to paper clips so they would hang. I didn’t tighten it up all the way and it will rotate for me 🙂

clip 3                                             As you can see I am adding items and just making sure it is balanced, although it is very stable 🙂

clip 4

clip 2As you can see it is sitting nicely on the left hand side of my desk, easy to access  and it didn’t take much to fit it on. I still have some things to add to it, but lots of space and I got rid of two baskets 🙂  I can still store things underneath it and I found the cool pink lamp to give me some extra light over my desk, as it is a bit darker in the lounge room in the late afternoon 🙂

My space is finally the way I want it and organised for now 😉

Hope my invention might inspire some of you to make one too 🙂

Happy Crafting x

Posted in Uncategorized | Tagged , , | 2 Comments

Some scrappy Time!

Hi Everyone

I’ve just popped in on this AFL Public Holiday to say Hi!!   Some of us still have to hold the country up 😉

Sorry I’ve not been around much. Work the last few weeks has been crazy with staff away and filling in a fair bit of late.

I have picked up extra sleep overs which is great, on top of my other hours which will keep me out of mischief!  During the week I have been puddling with a challenge over at Home and Scrapped which has been a lot of fun to finally get something done:)  This is my weekend off as such and hope to do a bit more creating 🙂

step

As JJ had a dark t-shirt on I decided to do something a bit different to the normal light cs and use black. I used Versamark on the background for the shadow look of the paw stamps and embossed with some white to make it pop a bit.  The colours are actually a jade colour but came out blue in the photo. It came up nice with the pattern papers and embellishment I used.  Trishka has certainly become part of our family and she is very spoilt, as our Fur Babies are 🙂


Posted in Uncategorized | Tagged , , | Leave a comment

Mixed Media Canvas!

Hi everyone,

Its been a bit of a long time between drinks on here as they say. I do apologize as I am busier with work now and not a lot of crafty time happening.

I have had three 12×12 canvases sitting in my cupboard waiting to be worked on and I finally got them out and started them this week.  I wasn’t sure what to do or where to start, but as I have purchased some new Heart Felt Creations stamps and dies I was eager to try them  out. I decided on a photo of my boys, hanging out and just being themselves to put on the first canvas and I am sooooo happy with the result.

boys 2

I have only created one other mixed media canvas so I am still on ‘L’ plates for sure 😉

For the background I sprayed some Dylusions ink, but as I wasn’t happy with the result. I had already used a cogs stencil on it but it just wasn’t what I wanted, so I gessoed over the whole thing and it was much better with the underneath images still being seen. I then stamped on the top and added a bit of texture paste through a stencil for some dimension.

I then cut out some cog dies, embossed same paper, and added some layers underneath the photo. I am not one to put flowers on a boys layout but I love these Heart Felt Creations All Geared Up Dies and I couldn’t resist! I used my Ebosser to cut them out and I had a play with my stamp paint to colour them.  To make sure my embellishments stayed put on the canvas I used my trusty glue gun!  I am very pleased with the outcome of this canvas and now to puddle a bit more over the weekend in between work and create another one to adorn my walls 🙂

004

A close up of the flowers 🙂

This is what I used on the canvas 🙂

Gesso, Texture Paste, Dylusions inks, Viva 3D Stamp Paint

Memory Box Cog dies, HFC All Geared Up. Tim Holtz Heart Die and Emboss Folder

Prima Coffee Stain Stamp, Kaisercraft Collections, SU Antique Brads, metal embellishments

Thanks for stopping by and having a peek at my bits and pieces.

Happy Stamping

Kerri x


Posted in Uncategorized | Tagged , , , , | Leave a comment

A Bit More Smashing!

This week has been a bit of a hectic one with it ending with my MRI on my shoulder yesterday. Hopefully will know more and what the treatment will be when I see my GP this week.  Anyway, in between everything, as I do, I have been having fun with my Smash books I made. I have been trying to scrap the photos from the great day we had when we went to the Avalon Air show in March. This was part of Jayden’s 18th Birthday present and he had been looking forward to it for ages. It was a great day and I finally did some of the photos in a book I made for my boys stories.

boys 1

Cover I created on the front of the journal!

BOYS

First pages in the book and I am very happy with them. I added the tickets from the day. I used some pp, ink, tags, twine, washi tape,embellishments and of course the jouranling.  I am really enjoying this form of scrap booking and I think it is the way I will be doing it now.

I have joined in a Build A Page challenge on Home and Scraped that I am doing in my pet smash book and I have started a page with some photos of mum.

Happy Smashing x

Posted in Uncategorized | Tagged , , , | Leave a comment

“Pet Smash!”

Still puddling with my home-made Smash books and I have finished our Fur Baby one for our pets.  I covered the main area of the cover with some pp and added a bit of dimension with a stencil and texture paste.  I used some paper from the Graphic 45 Cats and Dogs pad and an embossed piece of cardstock I put through my Ebosser.  I then added a photo of them, and a few embellies and some Washi Tape to show the theme of my book 🙂 I have a lot of photos of our pets on my phone and they have lots of stories to tell, so this is the perfect place to keep them all together 🙂

fur


As you can see my house is s zoo! lol!  Trishka has to be always in the way when I am trying to create. she is either sitting on my chair or on my table 🙂 I think she gets the best view of the front yard up there.

cat 1

Hope you are having fun with your Smash/Scrap Booking

Happy Smashing

Kerri x


Posted in Uncategorized | Tagged , , , | Leave a comment

Smash and Scrap!

I’m having a bit of a meh week.  An X-ray on my shoulder showing a bit of trouble and I am having an MRI, then taking my little girl to the vet today and finding she has a growth in her tummy.   I have been trying to distract myself so I thought I would show you what I have been doing with my Junque Jouranling 🙂   I was lucky enough to go to the Quilt and Craft show in Melbourne last weekend and it was great. It was a bit disappointing as we didn’t get to do any classes and there was not a lot of other crafts there like other years we had been. So many different crafts around, but I am definitely a paper crafter.

I found some A5 Journals at the Kaisercraft store at the Southern Cross Station shopping plaza and I have turned them into Smash Books 🙂  They were half price and the paper was good quality.  They were a good size to be able to add photos and bits and pieces too.  I am soooo much a scrap-booker, but this is the best of both worlds 🙂


11755796_836482046420651_1226215242594436458_n
                                                       They had some cute covers on them but I will add my touches to them to make them mine 🙂

11755788_836482069753982_112000884449372104_n

I saw on Pinterest this idea to use Washi Tape to put two pages together to strengthen them and also to decorate them.  . This is the tutorial I found http://momruncraft.com/2012/09/06/diy-washi-tape-smash-bookjournal/

11695989_836570796411776_2675852884371091766_n

I have a crook shoulder and I’m not allowed to do too much at home, so I sat one day last week and got these ready to create in. They look pretty cool.

003

I printed a few photos of our day on my Canon Selphy and I cut up bits out of the brochure from the show on my pages. I added, some business cards and a journaling tag with the story on it. I inked the paper on the background and doodled a border for a bit of interest. I think the pages tell we had a fun day together and we bought a few goodies of course 🙂  With Scrapbooking you need to make sure you use Acid or Lignin free supplies but with Smashbooking/Junk Journaling it’s not so important as you are adding ephemera  etc to you pages. I just make sure I mount my pics on acid free cardstock or keep photos away from the other bits I use.

I hope you enjoy looking a t my projects and you are having fun with your journals 🙂

Happy Smashing x


Posted in Uncategorized | Tagged , , , | Leave a comment

“First Pages!”

Happy weekend Everyone, This is my weekend off and I am hibernating as it is sooo cold down South atm. Yes, it is Winter here is Aus and we have to suck it up lol! I have had a hectic week and nursing my shoulder after Physio yesterday, but it is improving and making life easier.  I stayed up and watched a bit of Wimbledon last night and I decided to use that time and “SMASH” my first pages in my journal. I have a little collection of receipts etc from during the week, so I wanted to include those to and a few other bits and pieces.  My life isn’t really exciting but it is interesting to see what I collect in my purse and backpack during the week hehe!  I have a  container with some bits in it but it isn’t working for me and I think I need to use my Raskog cart more efficiently.  I will sort it out today sometime and be able to find my supplies easier than on the couch and in the I had mess last night!   smash 1I flicked through my journal till I found the pages I wanted to use and then I just randomly stuck my receipts, tags, and bits and pieces down and did a bit of journaling. I kept some odd things but they add to the story. I have a cinema ticket from the movies, Chicko Roll bag from dinner, ( a clean one of course), my appointment card for Physio, a scratchy card and a bank receipt.  Its my Life Junque but it tells you about us  🙂 This will be great to look back on in 6 months time and see what we were up to and they are our memories even though there are no photos with these pages. I don’t think my boys would have let me take a photo at the movies! I found this today and I think it sums up my Junque Journaling 🙂 6388ad1ce0a808e2d27091f3fb1058bc I am hoping to get some more smashing done over the weekend and I have been stamping and colouring some images, to make cards with my new Lawn Fawn goodies. That is keeping me busy!   play Just sharing the next Altered Junque Journal I am working on. It is going to be a Fur Baby Journal.  I don’t want to scrap a heap of layouts of our precious furbies, but thought a journal would be heaps better and fun to create about them. They are definitely part of our family! I have gessoed the cover and I stood the book up and sprayed some Dylusion Ink down the cover to get the drip effect.  I have stamped some tissue paper with paw prints to add to it and I will embellish it and add papers etc. Stay tuned 🙂  Hope you have a great weekend and keep warm xx Happy Smashing x

Posted in Uncategorized | Tagged , , , , , | Leave a comment

Handmade Junque/Smash Journal!

Seemingly useless or out-of-date items with a certain je ne sais quoi. The “another man’s treasure” part of the old saw.
“I always find some neat junque when I go to the flea market.”
 
I am and always have been a very sentimental person.  I think this definition sums it up, what my Junque journal is to me. All my small treasures that I have collected that others would find as rubbish or out of date that hold memories for me.
I have been working on making my first Altered Junque/smash Journal this week and it is now up to the binding stage so I can use it and make it my own treasury of memories 🙂
I just wanted to share how I created the cover and a few pages so you get the general idea of a Junque/smash journal 🙂 I have lots of goodies in my box to start smashing into it 🙂
jun 1
This my cover and I created this using the same tutorial here that I used for my friends Journal  –
  https://prettypaperandstamps.wordpress.com/2015/07/05/junquesmash-journals/   The only thing I did different was to reinforced the top and bottom edges of the book with some more fabric tape as it will be handled a lot 🙂
jun 2
                                                      This is my inside cover and I have made a pocket to store some journaling cards and tags in.  I am using different papers and things for the pages,from my scrap stash.  Below are a few other examples of pockets, jouranling cards etc that I have added to the book. I think I will also add photos in my journal as some of the ephemera I have are connected to photos and events 🙂
I hope you may be inspired to try to make your own Junque/smash journal/ I would love to see what you came up with 🙂
Happy smashing x
jun 6jun 4
Posted in Uncategorized | Tagged , | Leave a comment

“Junque/Smash Journals”

Happy Sunday Everyone here in Aus and happy 4th of July to my American friends 🙂

I am working over this weekend and in between everything I am still puddling with my Altered Journals. I am really enjoying the freedom of these fun projects I am working on.

I decided to make my friend Mary a Junque/smash/Art journal for her birthday and I thought I would share how I made it with you.

I can hear you saying, ‘what is this woman talking about?

Are you like me and have a shoe box of bits and pieces (ephemera)  you have collected like tickets, letters, postcards etc and haven’t known what to do with it?  Well I have the answer 🙂


junk 1

As you can see I have quite an assortment of things in my box. Tags, post cards, tickets, fabric, hand written letters and all sorts of memories from my life and my boys growing up.  This type of journal is just to add all those bits and pieces as you want to in no particular order and  journal your memories.  Mine have lots of memories attached to them and this is going to be a fun process.  I have made a couple of books like this before; one for mum and one about my love of my rose garden. They are so much fun and you can just keep adding to them 🙂  If you fill your book up, then start again. I hope my boys will love these in the future and show their kids.  They will be like a time capsule and I hope they will learn more things about their mum 🙂

smash

This gives you an idea of what to put into it, basically anything you want to keep or add  🙂   You are making an old book into a new one 🙂

Have I got you interested, if so read on 😉

You can create a smash/junk journal just from an ordinary paper book, or buy the actual Smash Books. I decided to make my own and it would be my unique piece of Art 🙂  My best friend is into Art Jouranling so I made her one too and she loved it.

THIS IS HOW I MADE IT……..

You can use an old book just like I created my Art journal here https://prettypaperandstamps.wordpress.com/2015/06/29/altered-art-journal/   but I decided I wanted to take the inside pages out of it, use my own papers and things and then I bound it in a way that you can add or subtract the pages as you want to.

IF YOU FOLLOW THIS TUTORIAL you will be able to create a book 🙂 I followed it as far as the binding part and I also added fabric tape over the centre for extra strength 🙂

http://g45papers.typepad.com/graphic45/2013/03/ideas-for-secret-garden-handmade-treasures-.html

FOR MY BINDING I FOLLOWED THIS TUTORIAL which is near the end of the video.

BK 3                                                       This photo shows the 5 lots (signatures) of different papers that I added to the journal.

BK 2                                                This is the spine and you can see the binding which holds the new pages of the journal.

BK 1

After using gesso (primer) the cover, adding napkins and other embellishments this is the finished piece I made for my friend, I was very pleased with how it turned out and that is a useful item for her to use 🙂

Junk 2

I used gesso over the cover, and dry brushed some paint on it before applying the napkins with mod podge. I still have things to add. I am now making the signatures with all sorts of papers and bits and pieces from my scrap stash.

Junk 3

As you can see I have made a lovely mess, and I have added some gesso to some jumbo playing cards that I have to add to my journal.  If you are not sure what gesso is that I have been talking about;  it is a primer that allows paint, glue and wet media to adhere to your pages.

I cant wait to get it finished and start “smashing” and adding my ‘junque’ to my journal 🙂

Happy Creating x


Posted in Uncategorized | Tagged , , , , , | Leave a comment